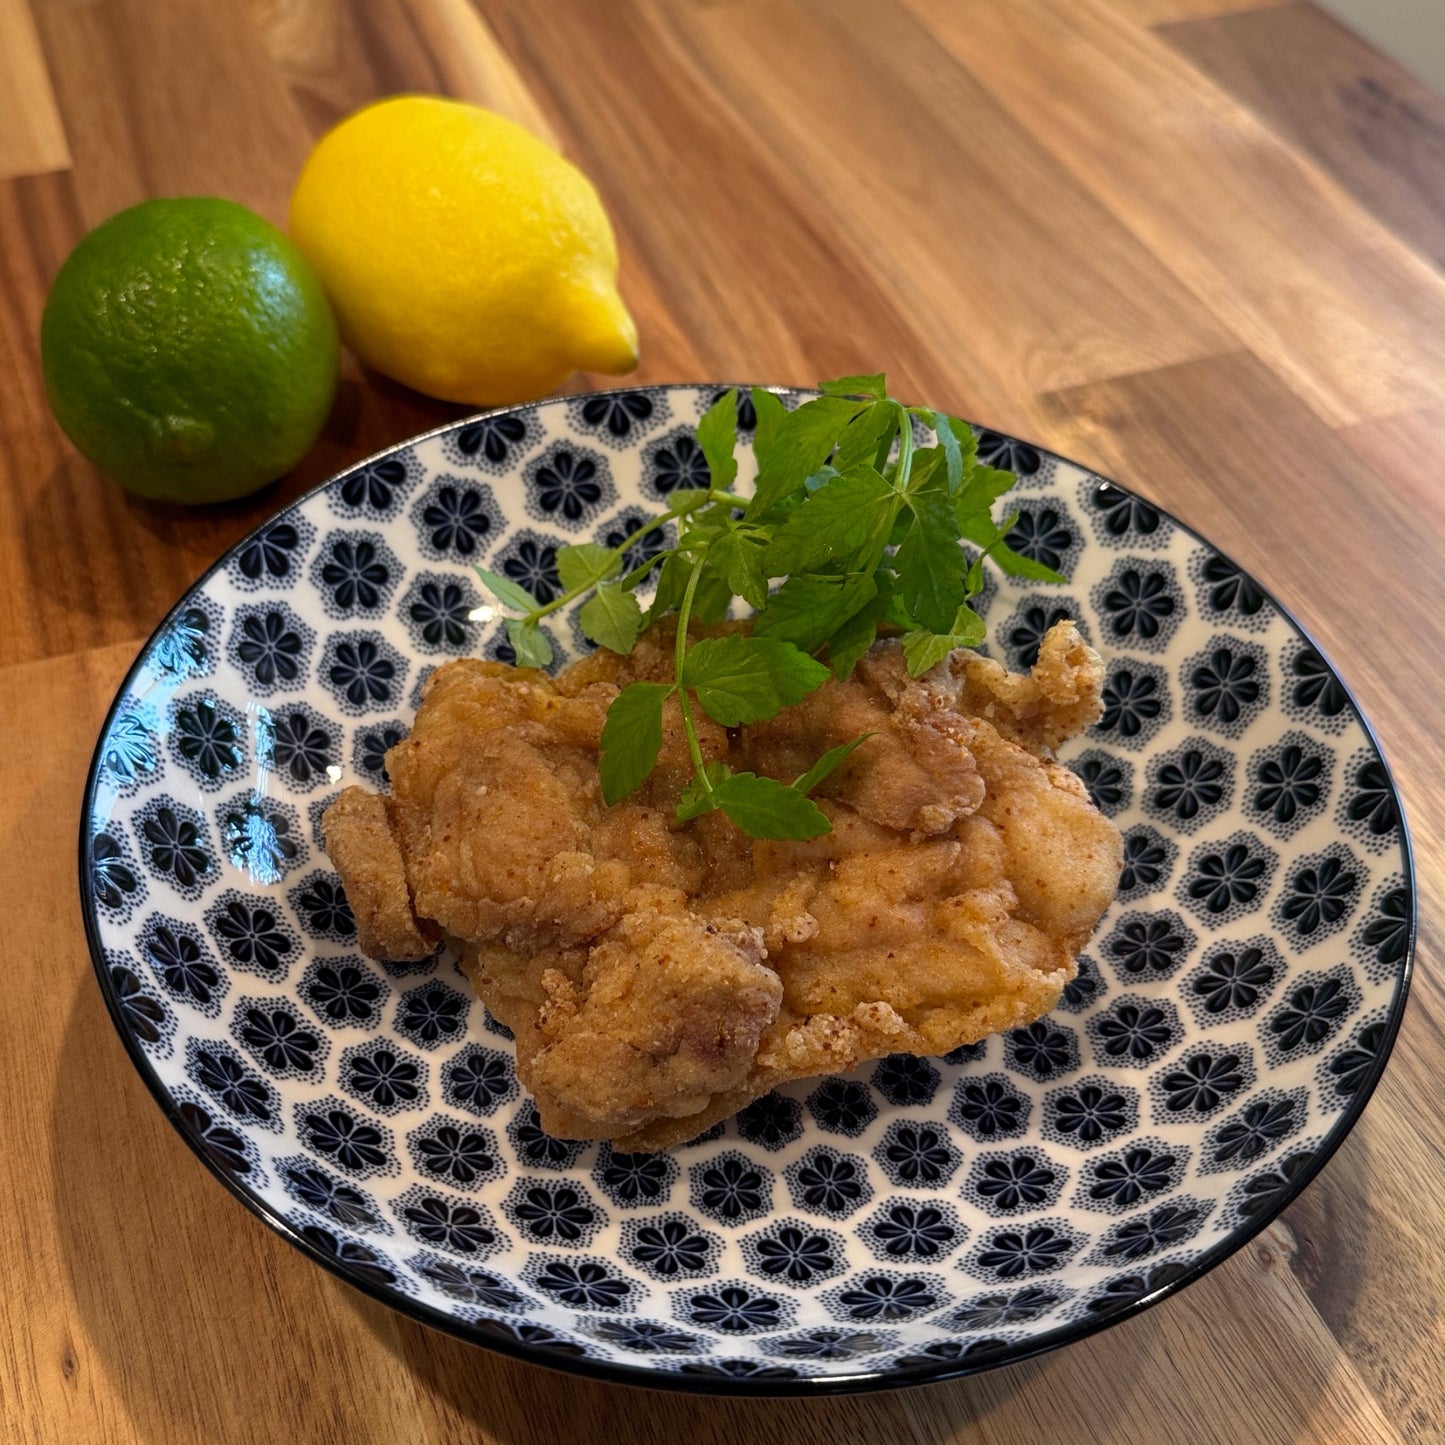
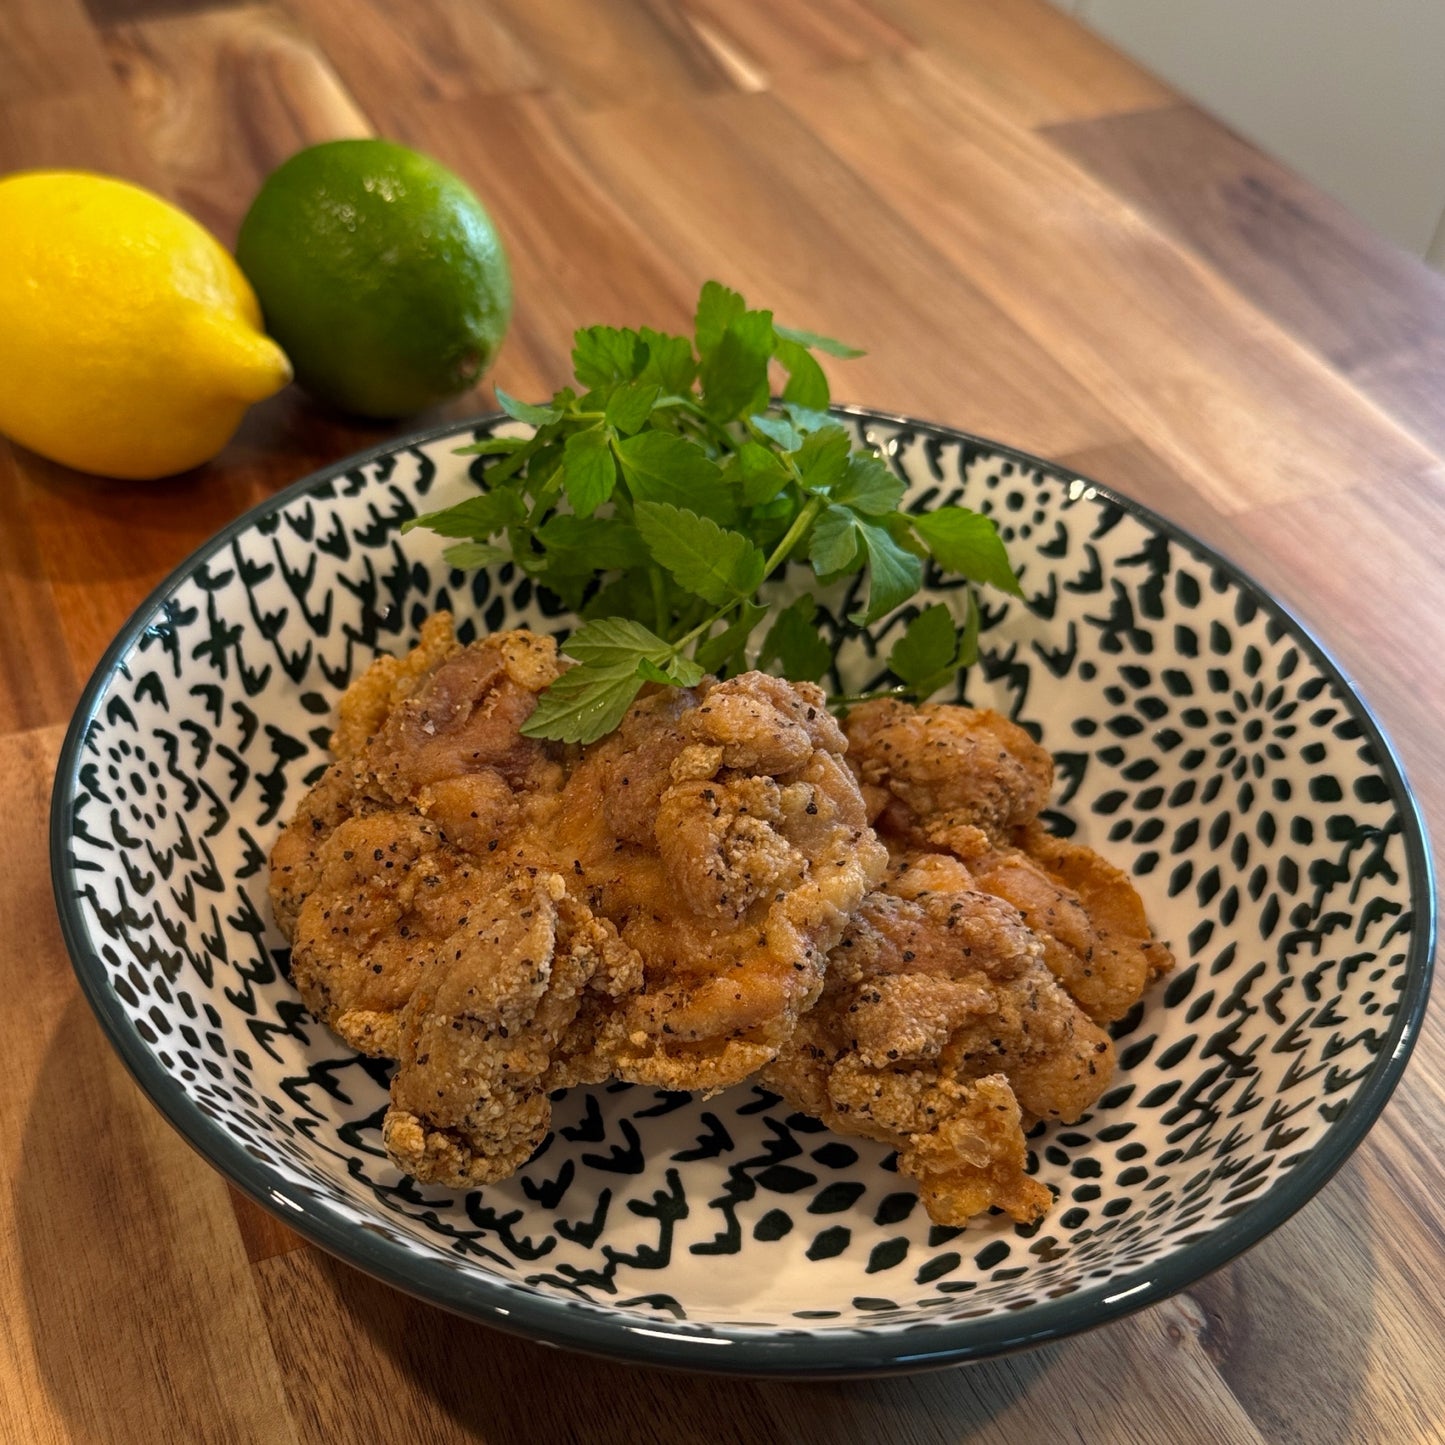
How to Deep Fry Korean Fried Chicken at Home with Goyeo Foods
Share
Deep frying Korean fried chicken at home can feel intimidating the first time.
Hot oil. Timing. Coating. Cleanup. The question everyone has is simple:
How do I get crispy, golden, fully cooked chicken without making a mess or guessing the whole way through?
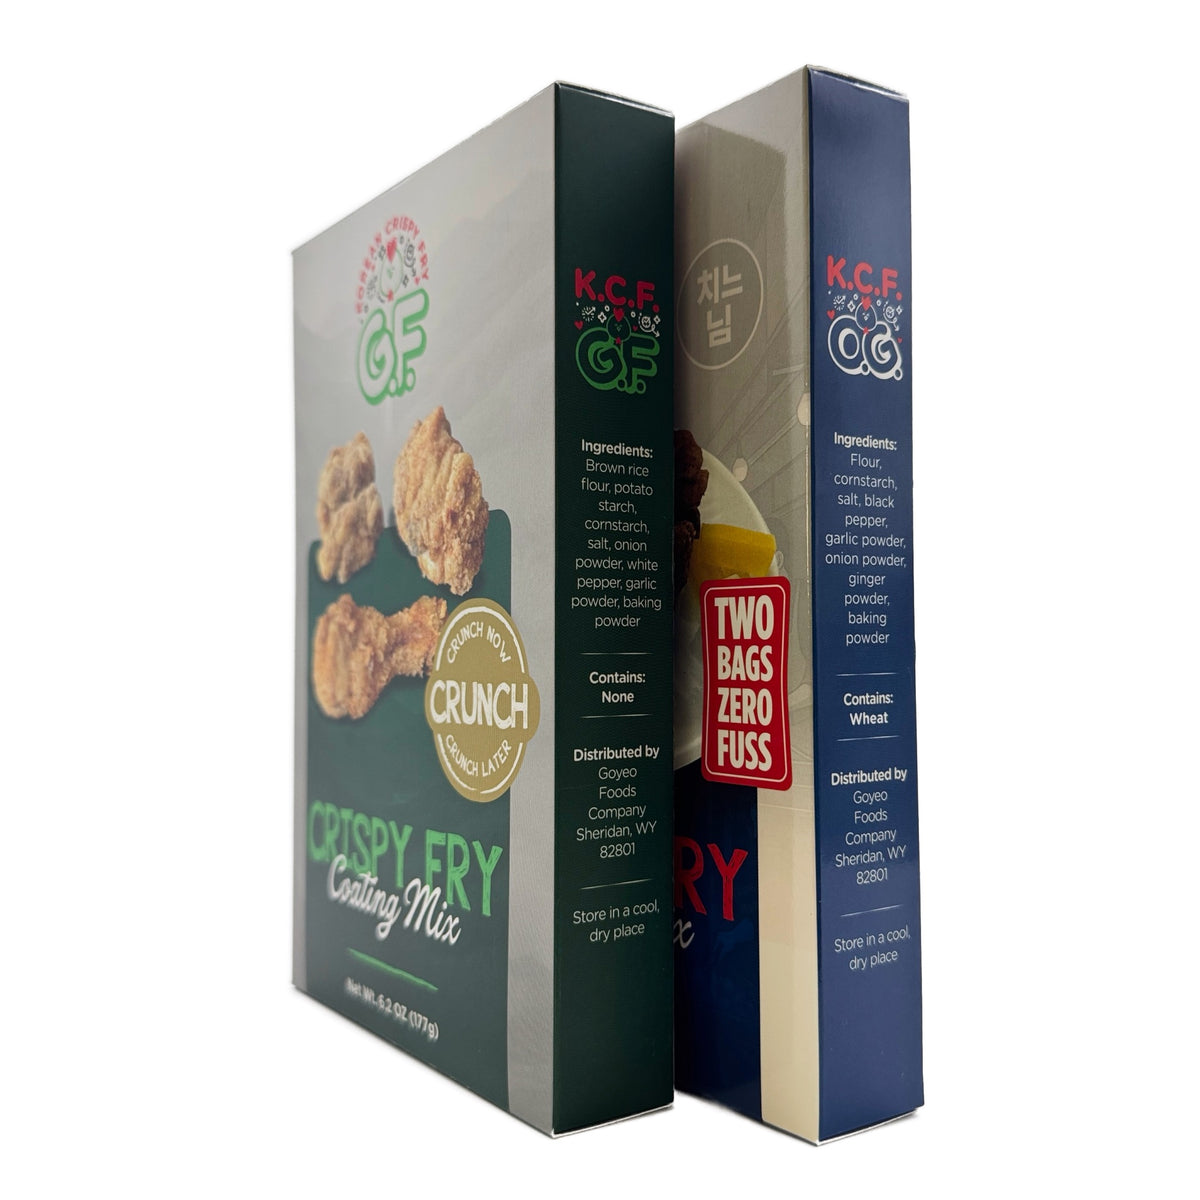
That is exactly why we made Goyeo Foods Korean Crispy Fry mixes.
Our Original Goodness Korean Crispy Fry and Gluten-Free Korean Crispy Fry mixes are designed to make the process easier, cleaner, and more consistent — especially for home cooks who want real crunch without building a full restaurant-style fry station.
This guide is written for first-time deep fryers. No complicated chef talk. No unnecessary steps. Just a clear path to crispy Korean-style fried chicken at home.
First, what makes deep frying different?
Deep frying means the chicken is fully surrounded by hot oil. That hot oil cooks the coating quickly and evenly, helping create a crisp surface while the chicken cooks through.
That is why deep frying is the classic method for Korean fried chicken. It gives you:
- More even crisping
- Better all-around golden color
- A lighter, crunchier coating
- Faster cooking than many oven methods
- A true fried chicken texture
But deep frying also asks more of the home cook. You need the right pot, the right amount of oil, a safe setup, and a simple process you can repeat.
The good news: once you know the basics, it becomes much less intimidating.
What Goyeo Foods mixes make easier
Traditional fried chicken can involve a long list of steps: seasoning flour, mixing starches, making a dredge, dipping into wet batter, coating again, managing multiple bowls, and cleaning a flour-covered counter afterward.
Our mixes simplify that.
With Goyeo Foods Korean Crispy Fry Mix, the seasoning and coating base are already blended and packed inside an included food-grade coating bag. That means fewer ingredients to measure, fewer bowls to wash, and less guessing about flavor.
Instead of dragging chicken through bowl after bowl, you can:
- Open the food-grade bag that already contains the mix.
- Add one chicken piece at a time for the most even coating.
- Close the bag securely.
- Shake gently until the piece is evenly coated.
- Remove the piece, shake off excess mix, and fry.
The bag can coat about 8–12 full-sized chicken pieces, depending on size. For best results, coat one piece at a time instead of overfilling the bag.
That is the advantage.
Less mess. More even coating. More consistent crunch.
What you need before you start
Keep your setup simple.
You will need:
Goyeo Foods Original Goodness or Gluten-Free Korean Crispy Fry Mix in its included food-grade coating bag
- Chicken pieces
- Neutral frying oil
- A heavy pot or deep pan
- Tongs, spider strainer, or slotted spoon
- A wire rack or paper towel-lined tray
- A thermometer, if available
- A plate or tray for coated chicken
- Good ventilation
A thermometer is helpful, but do not panic if you do not have one. We will cover both ways.
Choose the right chicken pieces
For first-time deep fryers, smaller pieces are easier.
Good beginner choices:
- Boneless chicken bites
- Wings
- Small drumsticks
- Thin breast strips
- Deboned chicken thighs with skin — my favorite
Avoid very large pieces your first time. Big pieces take longer, are harder to cook evenly, and increase the risk that the coating gets too dark before the inside is fully cooked.
Smaller, even-sized pieces are your friend.
Step 1: Set up your kitchen first
Before turning on the stove, set up your workspace.
Place your pot on a stable burner. Keep the handle turned inward so it cannot be bumped. Keep children, pets, paper towels, plastic bags, and clutter away from the stove.
Turn on your range hood or open a nearby window. Deep frying smells best when the kitchen is ventilated.
Set your resting rack or paper towel-lined tray near the stove, but not so close that it gets splattered.
Once the oil is hot, you do not want to be searching for tools.
Step 2: Pick the right pot and burner
Use a heavy pot or deep pan with tall sides. A Dutch oven, heavy stainless pot, or deep sauté pan works well.
Do not fill the pot too high with oil. Leave plenty of space above the oil line because the oil will bubble when food goes in.
A good home-kitchen rule: fill the pot no more than halfway.
Use a burner that fits the size of the pot. A pot that is too wide for the burner may heat unevenly. A pot that is too small can overcrowd quickly.
Steady heat is more important than high heat.
Step 3: Add oil and heat it
Use a neutral oil with a high smoke point, such as canola, vegetable, or peanut oil.
If you have a thermometer, heat the oil to about 350°F.
If you do not have a thermometer, use a small test piece. Drop in a tiny bit of coated mix or a small coated chicken piece. It should bubble actively right away, but it should not smoke or burn instantly.
Signs the oil is too cool:
- Food sinks and barely bubbles
- Coating looks wet or greasy
- Chicken absorbs oil
- Frying takes too long
Signs the oil is too hot:
- Coating browns too quickly
- Oil smokes
- Outside darkens before inside cooks
- Burnt smell develops
You want steady bubbling and gradual golden color.
Step 4: Prep the chicken
Pat down excess moisture from the chicken before coating.
This matters. Too much surface moisture can cause oil splatter and make the coating less even. You do not need to over-dry the chicken; just remove excess moisture so the mix can cling better and fry more cleanly.
Once excess moisture is patted down, the chicken is ready to coat.
Step 5: Coat in the food-grade bag
Open the food-grade bag that already contains the mix.
Add one chicken piece at a time.
Close the bag securely.
Shake gently until the piece is evenly coated.
Remove the coated piece and shake off excess mix before frying. Too much loose coating can fall into the oil and darken.
Repeat with the remaining pieces.
This is one of the biggest advantages of using our mixes. The bag helps distribute the coating evenly without needing multiple bowls, a separate dredging station, or a floury countertop.
Step 6: Fry in small batches
Do not crowd the pot.
Crowding lowers the oil temperature and can make the coating heavy or greasy. Fry only a few pieces at a time so the oil keeps bubbling.
Carefully lower each piece into the oil using tongs, a spider strainer, or a slotted spoon. Do not drop food from high above the pot.
Let the chicken cook until golden and crisp.
Approximate fry times:
- Boneless bites: 5–6 minutes
- Wings: 7–9 minutes
- Small drumsticks: 10–13 minutes
- Thin breast strips: 5–7 minutes
- Small thigh pieces: 8–10 minutes
These are guides, not guarantees. Size matters. Oil temperature matters. Your stove matters.
The most important rule is safety: chicken should reach 165°F internal temperature. A food thermometer is the most reliable way to check because USDA guidance lists 165°F as the safe minimum internal temperature for all poultry.
Step 7: Look, listen, and smell
Deep frying gives you clues.
What you want to see:
- Steady bubbling around the chicken
- Coating turning golden
- Edges becoming crisp
- Less aggressive bubbling near the end
What you want to hear:
- A steady sizzle
- Not a violent splatter
- Not silence
What you want to smell:
- Toasty, savory, fried aroma
- Not burnt oil
- Not smoke
If the chicken darkens too fast, lower the heat slightly. If it barely bubbles, raise the heat gradually.
Step 8: Rest on a rack
When the chicken is done, lift it out carefully and place it on a wire rack.
A rack is best because air can move around the chicken, helping keep the coating crisp. Paper towels work too, but they may trap steam if the chicken sits too long.
Do not cover hot fried chicken tightly right away. Steam softens crisp coating.
Let it rest briefly, then serve while hot.
Step 9: Repeat with the next batch
Before adding the next batch, give the oil a short moment to recover.
If you have a thermometer, let the oil return near 350°F.
If you do not, look for the same steady bubbling test.
Skim out any loose crumbs with a strainer if they start to build up. Loose bits can darken and affect flavor.
Original Goodness vs. Gluten-Free
Both of our mixes are made for deep frying, but each one brings something different to the table.
Original Goodness is our classic Korean Crispy Fry mix. It is savory, familiar, and built for the customer who wants the signature Goyeo Foods crunch.
Use Original Goodness when you want:
- Classic Korean-style flavor
- Crowd-pleasing crunch
- A dependable first choice
- A familiar taste for family dinners
Gluten-Free is our inclusive option for households that need flexibility.
Use Gluten-Free when you want:
- A gluten-free crispy fry option
- A lighter golden coating
- More flexibility for mixed-diet households
- Clean ingredients with real texture
- Both mixes are designed to make deep frying more approachable, more consistent, and more delicious.
Traditional deep frying vs. the Goyeo Foods method
Traditional deep frying often looks like this:
- Measure flour
- Measure starch
- Add seasonings
- Mix dry coating
- Prepare wet batter
- Use multiple bowls
- Dip and dredge
- Recoat if needed
- Clean up flour, batter, and splatter
The Goyeo Foods method is simpler:
- Pat down excess moisture from the chicken
- Open the food-grade bag that already contains the mix
- Add one piece at a time
- Shake to coat evenly
- Shake off excess mix
- Fry
- Rest
- Serve
That is the difference.
We are not removing the joy of cooking. We are removing unnecessary friction.
Cleanup tips
Let the oil cool completely before handling it.
Do not pour used oil down the sink. Once cooled, strain it if you plan to reuse it, or pour it into a sealed container for disposal according to your local rules.
Wipe down the stove after the oil cools. Wash tools, rack, and any trays used for raw chicken separately from serving plates.
Throw away the used coating bag after it has touched raw chicken.
Wash hands and surfaces after handling raw poultry.
First-time deep fryer checklist
Before frying:
- Excess moisture is patted down from the chicken
- Pieces are similar size
- Pot is stable
- Oil is not overfilled
- Ventilation is on
- Rack or tray is ready
- Tools are within reach
- Raw chicken area is separate from cooked chicken area
- Food-grade coating bag is ready to use
During frying:
- Coat one piece at a time for best coverage
- Shake off excess mix before frying
- Fry in small batches
- Watch the oil
- Adjust heat slowly
- Avoid splashing
- Check doneness
- Cook chicken to 165°F
After frying:
- Rest on a rack
- Let oil cool
- Dispose of oil properly
- Clean surfaces
- Discard the used coating bag after contact with raw chicken
- Enjoy the crunch
Final thought
Deep frying at home does not have to feel intimidating.
With the right setup, small batches, steady heat, and the included food-grade coating bag, Goyeo Foods makes the process simpler from prep to cleanup.
Original Goodness brings the classic savory crunch.
Gluten-Free brings more flexibility to the table.
Both help you create Korean-style fried chicken that feels exciting, convenient, and worth sharing.
Start simple. Fry safely. Serve hot.
Then tell us how it turned out in Crunch Club.
Ready to fry your first batch? Start with Original Goodness for our classic savory Korean-style crunch, or choose Gluten-Free for a clean-ingredient crispy fry option made for more flexible tables. After you cook, visit Crunch Club to share your results, tips, photos, and ideas with the Goyeo Foods community.